Table of Contents
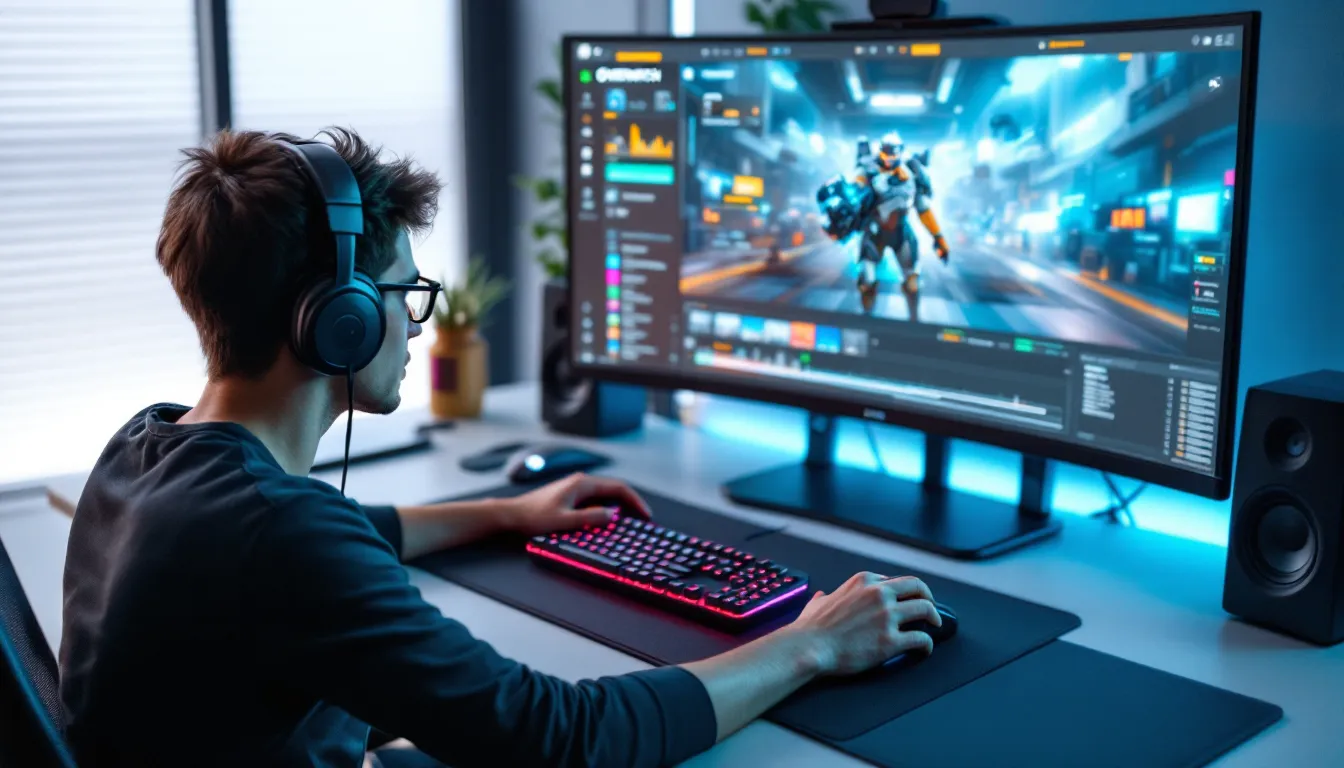
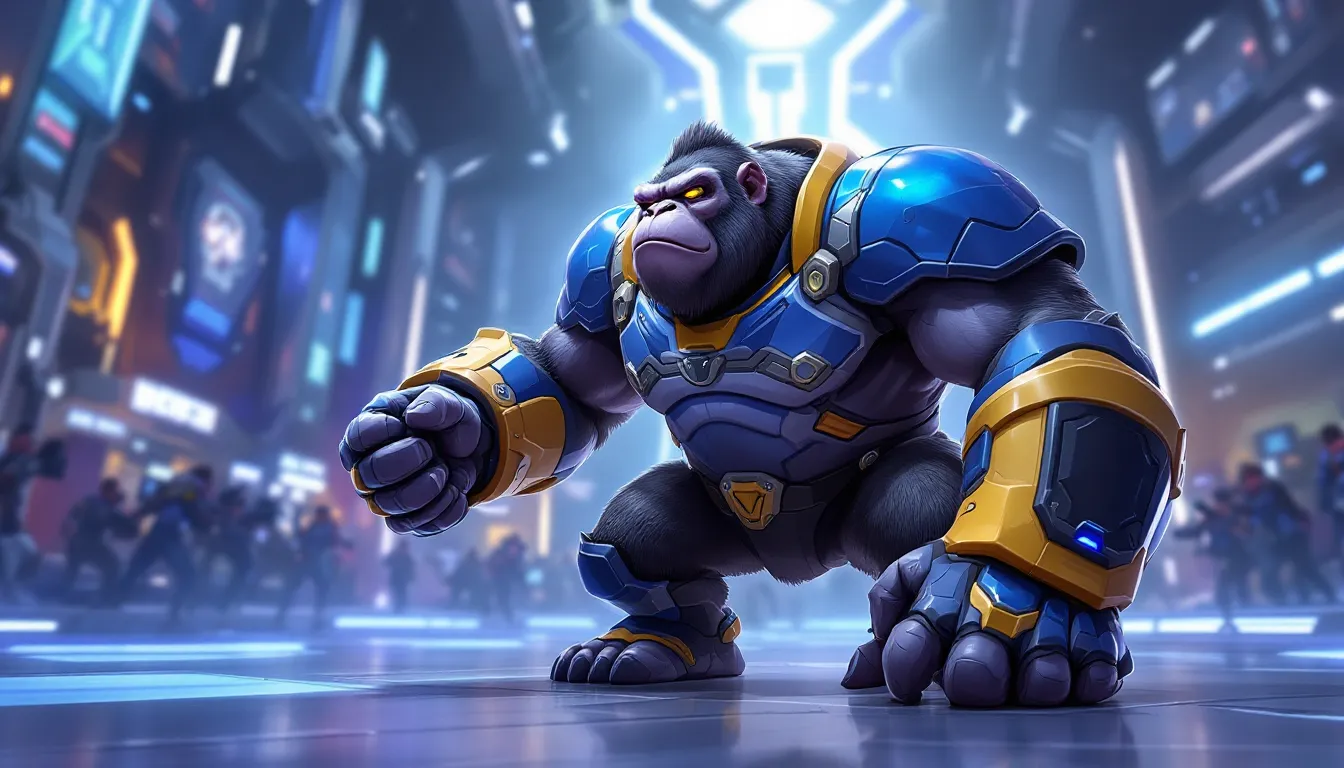
ToggleHazard burst onto the Overwatch roster as a high-mobility damage dealer with a unique playstyle that rewards aggressive positioning and precise mechanical skill. Whether you’re a casual player dabbling in Quick Play or grinding competitive ranks, understanding how to pilot this character effectively can transform your impact on the battlefield. This guide breaks down everything you need to know about playing Hazard, from his core mechanics and ability timing to map-specific strategies and matchup knowledge. By the end, you’ll have a solid foundation to start climbing with this versatile damage hero.
Key Takeaways
- Hazard is a high-mobility damage dealer that excels at close-to-mid-range engagements, rewarding aggressive positioning and precise ability timing in both casual and competitive play.
- Success with Hazard depends on team coordination and communication—call out rotations, confirm target focus, and avoid isolation to translate mobility into numerical advantages.
- Master cooldown management by chaining gap-closer and utility abilities strategically, baiting enemy abilities, and saving your ultimate for high-impact moments like 5v4 scenarios or objective pushes.
- Study map-specific positioning: leverage flanking routes and natural cover on open maps like Ilios and Busan, while respecting tight corridors on close-quarter environments like Hollywood and Dorado.
- Hazard dominates immobile supports (Mercy, Zenyatta) and struggles against mobile duelists (Tracer)—adjust your playstyle based on matchups, playing around cover and cooldowns rather than committing to raw mechanical duels.
- Avoid overextending beyond your team’s range and never prioritize flanking for its own sake—every aggressive rotation should create meaningful pressure or secure kills with clear escape routes.
Who Is Hazard And What Makes Him Unique
Hazard is a close-to-mid-range damage hero built around mobility and burst potential. Unlike traditional hitscan or projectile DPS, Hazard excels at closing gaps and repositioning mid-fight, making him a favorite for players who prefer aggressive, in-your-face gameplay. His kit prioritizes high movement speed and crowd control immunity during key moments, allowing him to weave in and out of engagements without getting pinned down by enemy abilities.
What separates Hazard from other damage heroes is his ability to dictate engagements through tempo. He’s not a pure playmaker like Tracer, nor is he a long-range threat like Widowmaker. Instead, Hazard occupies a sweet spot, capable of dealing consistent damage while maintaining an escape route. His design encourages players to understand positioning deeply and commit to fights with intention rather than panic.
Hazard’s learning curve is moderate. You’ll need to nail ability combos and understand when to press forward versus when to retreat, but the fundamentals are more forgiving than, say, Genji or Tracer. This makes him an excellent pick for players looking to improve their mechanical skills without the extreme execution demands of glass-cannon heroes.
Hazard’s Role In Team Composition
Hazard functions best as a secondary playmaker or off-tank enabler in most team compositions. While he deals damage, his real value lies in creating space and pressure that forces enemy supports and tanks to react. A well-positioned Hazard can peel for teammates, pressure enemy squishies, and force rotations without needing to secure clean kills.
In standard 5v5 compositions, Hazard pairs exceptionally well with aggressive main tanks like Reinhardt or Sigma. His mobility allows him to leverage your tank’s space-creation, diving past the enemy’s front line while your tank anchors the positioning. Conversely, he struggles in comps built around passive, defensive play. If your team is locked into a bunker comp or turtle strategy, Hazard’s mobile strengths become liabilities.
Support synergy matters too. Hazard benefits from movement-speed boosters (like Lúcio’s speed aura) and protection abilities (like Baptiste’s Immortality Field). These enable him to execute aggressive plays and survive burst damage that would otherwise delete him. On the flip side, Hazard doesn’t require heavy healing compared to tanks, so pairing him with a high-output healer is less critical than ensuring he has access to defensive cooldowns.
Ability Breakdown And Mechanics
Primary Fire And Attack Strategy
Hazard’s primary fire consists of rapid, medium-damage projectiles with a moderate fire rate. The weapon rewards tracking and sustained pressure rather than burst timing, think of it like a hybrid between a submachine gun and a pulse rifle. Your TTK (time-to-kill) against 200-HP heroes is roughly 1.2–1.5 seconds with clean tracking, which is respectable but not instantaneous.
Optimal primary-fire usage involves pre-aiming high-traffic chokepoints and leading targets slightly when they’re mobile. At close range (under 10 meters), your projectiles land almost instantly, so you can afford more aggressive tracking. At medium range (15–25 meters), you’ll need to predict movement and lead shots by roughly one character model width. Beyond 25 meters, Hazard’s effectiveness drops sharply, and you should rely on positioning or cooldowns to close gaps rather than trading primary fire.
One common mistake is spamming primary fire when you should be repositioning. Hazard’s mobility is his most valuable asset: don’t waste it standing still to squeeze out extra shots. If you can’t confirm a target, move up, reposition, or set up for a cooldown combo.
Cooldown Abilities And Ultimate Usage
Hazard’s first cooldown ability is a gap-closer that deals moderate damage and provides a brief shield on activation. Timing this correctly is crucial, use it to engage isolated targets, escape burst damage, or reposition during team fights. The shield component lasts only 1–2 seconds, so don’t rely on it for extended mitigation. Instead, use it to burst through enemy frontlines, land your combo, and retreat before the shield expires.
His second cooldown is a utility move that grants temporary crowd control immunity and increased movement speed. This is your get-out-of-jail card against sleeping darts, stuns, and hooks. Smart players bait this ability out before committing to major engagements. In competitive, expect enemies to learn your usage patterns, don’t fall into predictable timings.
Hazard’s ultimate is a high-impact, area-denial ability that deals burst damage and applies knockback. It’s excellent for:
- Forcing repositions: Enemies must scatter, creating openings for your team to push forward.
- Saving teammates: Use it to interrupt enemy ultimates or peel off diving tanks.
- Securing kills: In lower ranks, the raw damage often finishes isolated targets.
Ultimate economy is critical. Don’t waste it on low-value targets or purely defensive situations. In competitive play, coordinate your ultimate with your team’s engage pattern for maximum impact. A poorly timed ultimate can swing the fight the wrong way, so communication is essential.
Best Maps And Positioning For Hazard
Open Maps And Long-Range Engagements
Open maps like Ilios: Well, Lijiang Tower: Garden, and Busan: Downtown favor Hazard because they offer clear sightlines and multiple flanking routes. On these maps, Hazard can leverage his mobility to rotate around enemy positions, apply multi-angle pressure, and force enemies into poor defensive groupings.
For positioning on open maps:
- Play mid-range, around 15–20 meters from enemy frontline.
- Use natural cover (pillars, walls, buildings) to break sightlines and reset cooldowns if needed.
- Scout rotations early: these maps reward information gathering and positioning flexibility.
- Avoid exposed high ground unless you have an escape route, Hazard’s low health pool makes him vulnerable to coordinated fire.
On escort maps like King’s Row or Numbani, open spaces around the payload create prime Hazard territory. Position on the flanks of the payload rather than directly behind it: this lets you pressure enemies from unexpected angles while maintaining pressure on the payload itself.
Close-Quarter Environments And Flanking Routes
Close-quarter maps like Hollywood, Dorado, and Eichenwalde present a different challenge. Tight corridors reduce Hazard’s mobility advantage and increase his vulnerability to crowd control. But, these environments offer numerous flanking routes that reward aggressive rotations.
On tight maps:
- Identify two or three reliable flanking paths per choke. Memorize these during team fights to escape focus fire.
- Use corners and walls aggressively: Hazard excels at short-range engagements where his tracking matters most.
- Coordinate with your team to create simultaneous multi-angle pressure. While enemies defend the main choke, you sneak through a flank to catch their backline.
- Be cautious of narrow hallways where enemy supports can lock you down. If the enemy comp has Lúcio or Zenyatta, these tight spaces are treacherous.
On payload defense, post up around corners and side routes where you can ambush pushing enemies. Your goal isn’t to win the main choke: it’s to catch enemies rotating through side passages and whittle them down before they group up.
Matchup Guide: Heroes To Avoid And Counter
Favorable Matchups For Hazard
Hazard dominates matchups against Mercy, Zenyatta, and other immobile supports. These heroes have limited escape tools and low health pools, making them easy pickings for aggressive Hazard players. If you spot an enemy support isolated or out of position, commit to the hunt, your mobility ensures you can close gaps and finish them before allies react.
Junkrat is another favorable matchup. While Junkrat deals high burst, Hazard’s crowd control immunity ability negates his primary disruption tool. Use your mobility to close the distance, mitigate his splash damage with your shield cooldown, and unleash primary fire at point-blank range. Junkrat’s slow movement makes him an easy target.
Widowmaker and Ashe can be manageable depending on your positioning. If you engage from cover and use natural terrain to break sightlines, you can avoid their long-range dominance. The matchup tilts heavily in their favor if they have high ground advantage and clear lanes, so avoid extended mid-range duels. Instead, use your mobility to secure close-range advantages.
Difficult Matchups And How To Handle Them
Tracer is one of Hazard’s hardest counters. Her raw DPS at close range, coupled with her superior mobility and evasion tools, makes direct duels nearly unwinnable for Hazard. Against Tracer:
- Avoid direct engagement. Focus on securing distance and using cover effectively.
- Play around cooldowns. Bait her rewind with your gap-closer, then retreat and reset.
- Coordinate with teammates. Ask supports to play around you and help lock down Tracer when she commits.
Reinhardt presents a different challenge. His shield absorbs your primary fire, and his hammer reach forces awkward positioning. To handle him:
- Don’t engage head-on. Flank around his shield and apply pressure from unexpected angles.
- Bait his pin. Use your crowd control immunity to walk into threat range, let him commit, then dodge and punish.
- Play the spacing game. Stay just outside hammer range while maintaining DPS output.
Symmetra is dangerous in close quarters where her turrets and barriers lock you down. Play around her teleport exit point and respect her beam damage. Use your mobility to relocate rather than fight her head-to-head. Recent patch changes to Symmetra’s lock-on range have made her slightly less oppressive, but she’s still a threat in tight spaces.
Moira can be tricky if she plays passively. Her fade ability counters your aggression, and her burst healing makes it hard to confirm picks. Focus on spacing and don’t commit to long primary-fire trades. Your strength is closing gaps: if she fades away, reset and reposition rather than chasing.
Pro Tips For Climbing Competitive Ranks With Hazard
Team Coordination And Communication
Competitive success hinges on call-outs and pre-planned engages. Hazard isn’t a pick-your-own-fights hero. Before committing to aggressive rotations, communicate your plan to teammates. For example: “I’m rotating left side to flank their back line, main tank, pressure their shield.” This coordination ensures your mobility translates into numerical advantages rather than isolated deaths.
Vocal communication is essential. Call out enemy positions, alert supports when you’re low, and confirm target focus during key fights. Hazard players who spam aggression without communication tend to stagger (die alone) and lose team fights. The best Hazard players are often shotcallers who shape how their team positions and paces engages.
Watch your team’s ultimate economy too. Don’t burn your ultimate for a pick unless it secures a major objective or forces the enemy to respond defensively. Conversely, save it for critical moments, 5v4 scenarios, payload pushes, or defensive holds where the extra damage and area denial swing the fight decisively.
Resource Management And Ability Timing
Cooldown management separates competitive Hazard players from casual ones. Your gap-closer has a 6–8 second cooldown (depending on the patch). Don’t waste it for minor positioning adjustments: save it for offensive gaps or emergency escapes. Similarly, your crowd control immunity shouldn’t be used reflexively the moment you hear a stun nearby. Bait it out or hold it for moments when CC would genuinely lose you the fight.
Play around enemy ability timings too. If you know the enemy Reinhardt just pinned your teammate, he’s vulnerable for a few seconds before the ability resets. That’s your window to apply pressure. Similarly, if an enemy support just deployed their defensive ability (like Ana’s sleep or Baptiste’s immortality), you have a brief window before it rotates again.
Ammo management isn’t as critical as with other heroes, but be conscious of reload timing. In high-level play, enemies punish extended reload animations by diving or repositioning. Reload during natural downtime (rotating between fights, waiting for team) rather than mid-engagement.
For optimal climbing, review your replays and identify moments where you wasted cooldowns. Ask yourself: “Could I have played that fight differently with better ability timing?” This self-reflection accelerates improvement faster than grinding hours without purpose.
Common Mistakes To Avoid When Playing Hazard
Overextending And Poor Positioning
The most common Hazard mistake is overextending beyond your team’s effective range. You’re a mid-range, mobile DPS, not a tank. Pushing 30+ meters ahead of your team creates a situation where you get surrounded and killed before teammates can support. This is especially catastrophic in narrow maps where enemy rotations can cut you off quickly.
Related: isolating yourself on weird angles. While flanking is part of Hazard’s playstyle, it’s only effective when you’re creating meaningful pressure or securing kills. Flanking for its own sake wastes time and leaves your team at a numerical disadvantage. The best Hazard players flank with purpose, targeting specific enemies or creating timing advantages, not just wandering around the map hoping to find pickoffs.
Poor high-ground usage is another trap. High ground is powerful in Overwatch, but it’s a double-edged sword for Hazard. If you take high ground but lack a clear escape route, you’re setting yourself up for forced fights with terrible positioning. Always identify your escape path before committing to aggressive high ground.
Mismanaging Cooldowns And Ultimate Economy
Ability chaining separates competent and great Hazard players. Spamming your gap-closer whenever it’s available wastes its offensive value. Instead, chain your gap-closer with your other abilities and primary fire to create burst damage combos. For example: gap-closer → primary fire burst → crowd control immunity (if escaping) or follow-up ability (if pressing aggression).
Ultimate mismanagement is a rank-killer. Using your ultimate on one isolated target when you’re at a numbers disadvantage is wasteful. Similarly, saving your ultimate forever guarantees you never use its value. Aim for a middle ground: use it when it swings fights significantly (5v4s, stopping momentum, securing objective) but don’t hold it so long that the enemy team snowballs.
Many Hazard players also mistake “aggressive” for “reckless.” You’re not a duelist hero who wins 1v1s consistently. Your strength is applying multi-angle pressure, repositioning freely, and forcing enemy team coordination to break down. If you’re losing consistent 1v1 duels, adjust your playstyle. Play around teammates, use terrain, and leverage cooldowns more strategically rather than engaging raw mechanical fights.
Finally, don’t underestimate respawn timing. In competitive, every death matters. Before committing to a risky play, ask: “If I die, can my team defend the next fight 4v5?” Often the answer is no, so respect team composition and numbers advantage. This patience pays dividends in higher ranks where one staggered death loses entire rounds.
Hazard Skin Cosmetics And Customization Options
Hazard’s cosmetic lineup includes several standout skins across rarity tiers. Legendary skins like his Cyberpunk-inspired variants and thematic event skins (seasonal/holiday releases) often feature distinctive silhouettes and particle effects that add flair without compromising visibility or competitive integrity.
When selecting skins competitively, prioritize clarity. Skins with overly bright colors or excessive particle effects can block teammate sightlines or confuse coordination. Most Hazard skins are balanced in this regard, but avoid the most visually busy variants if you’re playing in high-stakes matches where communication and positioning matter most.
Diver skins and military-themed cosmetics align with Hazard’s gameplay fantasy, while more outlandish skins (like robot or costume variants) are purely cosmetic. Choose based on personal preference and the overall vibe of your cosmetic collection. Your in-game skin choice has zero impact on gameplay mechanics or hero balance, it’s entirely aesthetic.
If you’re grinding competitive ranks seriously, rotating between 2–3 skins you’re comfortable with ensures familiarity. Some players swear by having a skin they associate with “tryhard mode,” which provides psychological confidence. This is purely placebo, but mental edge matters in competitive grind, so use whatever motivates you to perform.
Conclusion
Mastering Hazard requires understanding his role as a mobile pressure dealer, not a solo playmaker. His ability kit rewards intelligent positioning, precise ability timing, and strong team coordination. By internalizing map-specific strategies, studying matchups, and avoiding common pitfalls, you’ll elevate your Hazard gameplay significantly.
The path to competitive improvement is iterative. Review your replays, identify mistakes, and focus on one improvement at a time rather than overhauling your entire playstyle. Whether you’re climbing from Bronze to Gold or pushing for Grand Master, the fundamentals remain constant: respect your team’s positioning, manage cooldowns deliberately, and leverage Hazard’s mobility to create advantages your enemies can’t answer. With consistent practice and intentional refinement, you’ll unlock the full potential of this dynamic damage hero and see your rank rise accordingly.