Table of Contents
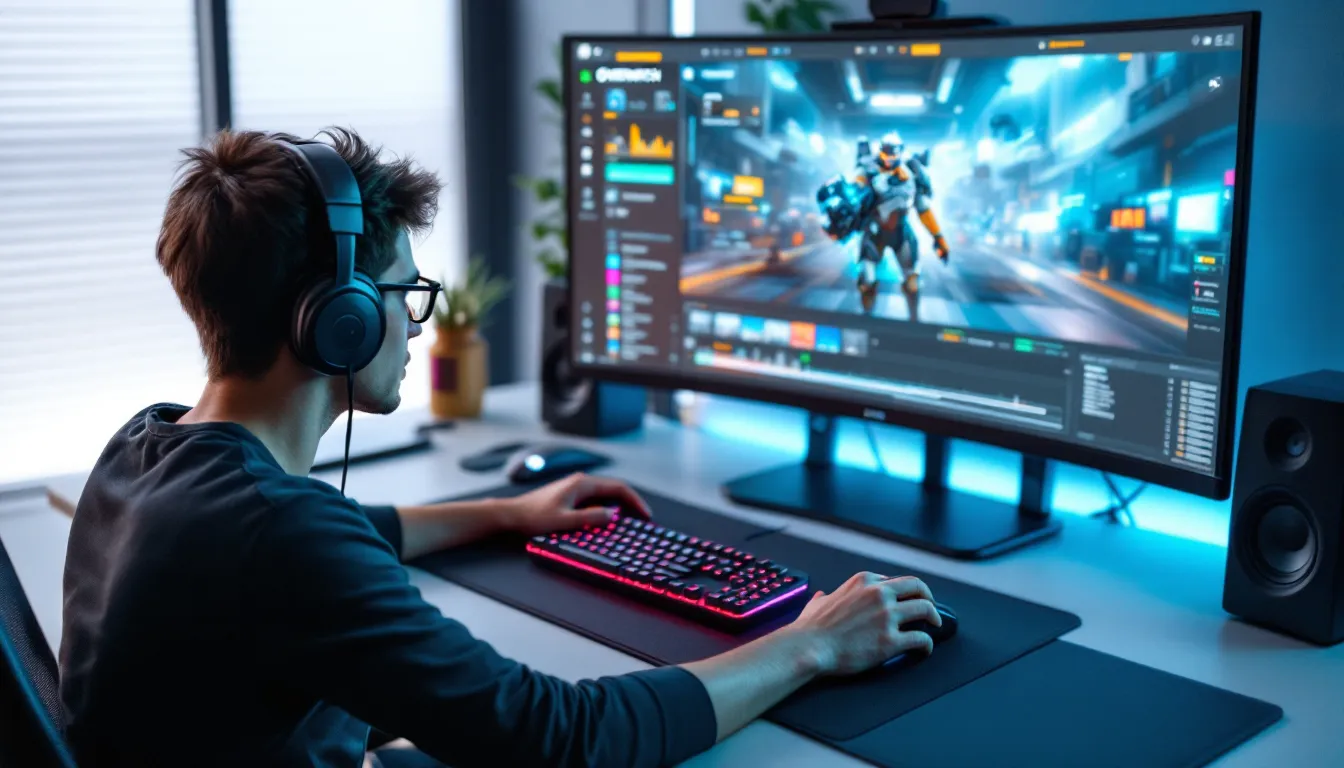
ToggleCumflation, the systematic buildup and management of ultimate ability charge, is the invisible thread that ties winning Overwatch teams together. While raw aim and positioning matter, how efficiently you generate, bank, and deploy your team’s ultimate abilities often determines whether you’re climbing the ladder or stuck in a plateau. In 2026, with recent balance changes and the evolving competitive landscape, understanding cumflation isn’t optional anymore: it’s fundamental. Whether you’re pushing for Grandmaster or just trying to escape Gold, mastering ultimate economy separates players who understand the game’s rhythm from those just reacting to it. This guide breaks down the mechanics, strategies, and hero-specific approaches that’ll transform how you think about every second of a match.
Key Takeaways
- Cumflation—the management of ultimate ability charge—directly determines team fight outcomes and rank progression, separating high-ranked players from those plateauing in lower tiers.
- Each hero generates ultimate charge differently; mastering your hero’s specific rhythm (damage-based, healing-based, or ability-specific) allows you to predict availability and optimize playstyle around charge generation.
- Successful cumflation strategy requires tracking enemy ultimate availability, banking ultimates for high-impact moments, and communicating your charge status to enable team coordination and dumps.
- Wasting ultimates on low-value targets, failing to communicate ultimate status, and overextending for charge are the most common mistakes that sabotage team economy and match outcomes.
- Positioning yourself where you generate charge fastest—damage dealers in enemy-heavy zones, supports with high-output teammates, tanks absorbing maximum damage—aligns charge optimization with overall team safety and impact.
What Is Cumflation in Overwatch?
Cumflation refers to the accumulation and management of ultimate ability charge, the meter that builds as you deal damage, receive healing, or fulfill hero-specific conditions. It’s not just about pressing Q when your bar fills: it’s about understanding when to press it, when to hold it, and how to coordinate it with your team.
Every hero in Overwatch generates ultimate charge differently. Reinhardt gains it through damage absorption and dealing damage. Lúcio builds charge by healing and dealing damage simultaneously. Tracer charges her ultimate exclusively through damage dealt. The rate at which you fill your ultimate bar determines your team’s tempo, a team with better charge generation wins more fights simply because they have access to more powerful tools.
Think of cumflation as your team’s economic system. Just like a real economy, poor management leads to collapse. Waste ultimates carelessly, and your team enters a deficit. Bank them wisely, and you create windows of overwhelming advantage. This is why high-ranked players constantly discuss ultimate availability, it’s the invisible scoreboard that predicts the next fight’s outcome.
Why Cumflation Matters for Competitive Play
Understanding cumflation isn’t about optimizing numbers on a stat sheet: it’s about winning fights. The team that understands economy better will consistently position better, engage at better times, and maintain pressure because they know when they have the numerical advantage of ultimate availability.
How Cumflation Impacts Team Fights
In any given team fight, the outcome often hinges on ultimate usage. A team with two ultimates available versus an opponent with none has a tangible advantage. But cumflation goes deeper: it’s about probability and readiness. If your team knows that the enemy Genji’s ultimate will be available in 20 seconds, you can play around that knowledge, either by disengaging or by using your own ultimates to force their hand early.
Consider this scenario: both teams are at 50% ultimate charge on their main damage dealer. The first team to 100% gains the initiative. The team that reaches that threshold first doesn’t just get an ultimate, they dictate the next fight. They can choose to engage, and the opponent is forced to either commit to a disadvantaged fight or retreat. This is cumflation’s primary impact: it creates windows of strategic advantage.
Players who track enemy ultimate availability mentally (or on a notepad during scrims) consistently outperform those who don’t. This awareness lets you bait ultimates inefficiently from enemies, punish them when their big plays are unavailable, and protect your own team from predictable counter-plays.
Cumflation and Rank Progression
One of the clearest signs that separates Silver from Diamond players isn’t superior aim, it’s ultimate discipline. Lower-ranked players waste ultimates on isolated targets, use them reactively instead of proactively, and rarely coordinate with their team on ult usage.
Diamond and above players track enemy ultimates, communicate their own charge status, and coordinate dumps (using multiple ultimates together) for maximum value. This discipline compounds over a match. One wasted ultimate might cost you one fight, but two or three wasted ultimates in a match? That’s the difference between a 50% win rate and a climb.
Rank progression becomes exponentially easier once you internalize cumflation management. You’ll notice immediate improvements in your win rate by simply asking yourself: “Do we have ultimate advantage right now?” before engaging.
Core Mechanics of Ultimate Charge Generation
Ultimate charge generation varies by hero and role, but the underlying mechanics are consistent. To master cumflation, you need to understand exactly how your hero and your opponents generate charge.
Damage-Based Charge Systems
Most damage heroes and some tanks generate ultimate charge primarily through damage dealt. Tracer earns 1% charge per 10 damage dealt. Genji generates charge at the same rate. Widowmaker, but, builds charge faster, roughly 1% per 8 damage, because her ability to deal burst damage means she’d be overpowered if her charge rate matched Tracer’s.
The math matters. If Tracer needs 500 damage to reach full charge, and you’re consistently landing shots for 15-20 damage per burst, you’re looking at 25-33 shots to charge her ultimate. Over a 30-second window, that’s achievable with solid play. Understanding your hero’s specific charge rate lets you predict when your ultimate will be available and plan accordingly.
Tanks like Sigma and Zarya also build charge through damage absorption. Sigma gains charge when his shields absorb damage: Zarya gains charge on personal and teammate barriers that absorb hits. A Zarya in a high-damage environment (being shot constantly) will charge her ultimate much faster than one in a low-pressure scenario. This is why positioning Zarya aggressively in front-line engagements accelerates her ultimate generation.
Healing-Based Charge Systems
Support heroes have a unique advantage: they build ultimate charge while keeping teammates alive. Mercy gains ultimate charge through healing done. Lúcio builds charge through both healing and damage. Baptiste charges through healing output.
The charge rate for healing is typically higher than damage rates to account for the lower output of support heroes compared to damage dealers. Mercy might earn 1% charge per 50 healing, while Ana (who heals and damages) earns charge through both mechanics at slightly lower rates to balance her dual impact.
This is why overstacking healing, running two healers without purpose, dilutes ultimate charge generation. If both your Mercy and Lúcio are healing the same target, only one is generating charge efficiently. The other is wasting her potential. Positioning supports to heal different targets or staggering coverage ensures maximum charge accumulation.
Ability-Specific Charge Interactions
Some abilities influence ultimate charge in non-obvious ways. Reinhardt’s hammer swings generate charge both through damage and through his damage mitigation with the shield. Roadhog’s hook combo generates charge quickly because the hook does significant damage, followed by melee and shotgun blast.
Baptiste’s healing grenade charges both him and teammates through the healing it applies. Symmetra’s beam generates charge rapidly against shields and barriers because beam damage to shields counts toward her charge at a higher rate than beam damage to heroes.
Understanding these nuances lets you optimize your playstyle. A Symmetra player who camps shields (like Reinhardt’s barrier) charges her ultimate significantly faster than one who spreads out and fights across the map. Similarly, a Roadhog who lands hooks in succession (each generating burst charge) builds ultimates faster than one missing hooks.
Building and Managing Ultimate Economy
Generating charge is only half the battle. Managing it, deciding when to use, when to hold, and when to stagger, is where true mastery emerges.
Maximizing Charge Generation Efficiency
Efficiency means extracting the maximum charge from every second of play. For damage heroes, this means securing kills and staying in fights where you’re dealing consistent damage. For supports, it means positioning where you’re healing multiple targets or healing high-damage teammates who attract enemy fire.
Consider positioning through the lens of charge efficiency. A Tracer positioned in the backline dealing chip damage to the enemy Widowmaker generates charge slowly. The same Tracer positioned hunting the enemy Mercy or securing kills on isolated targets generates charge faster because she’s eliminating threats and enabling follow-up damage from teammates.
Team composition also affects charge efficiency. A Zarya in a dive composition generates charge rapidly because teammates are diving into high-damage scenarios, and their barriers get burst by enemy counterfire. The same Zarya in a shield-tank composition generates charge more slowly because she’s not absorbing as much incoming damage. Recognizing these matchups and adapting your playstyle around charge generation is a subtle skill that separates good players from great ones.
Strategic Ultimate Banking and Timing
Banking means holding your ultimate when you have it available, waiting for the perfect moment to deploy it. This is where countless players fail. They see the bar is full and feel compelled to press Q immediately. Instead, great players bank ultimates for specific scenarios: team fights at important choke points, defensive ultimates to stop a push, or coordinated dumps with teammates.
Timing your ultimate matters as much as having it available. Using Genjis’s Dragonblade when scattered enemies are running to point is wasteful. Using it when three enemies are grouped and your team is following up? That’s a potential team wipe.
Banking requires discipline and communication. Your team needs to know you have an ultimate available but are holding it. Otherwise, they might overcommit to a fight you’re planning to turn around with ultimate usage. Callouts like “Ult up, holding for grouped” prevent your team from wasting resources.
Tracking Enemy Ultimate Availability
Professional teams track enemy ultimates with obsessive precision. Watching esports broadcasts, you’ll notice casters constantly discussing enemy ultimate status, and for good reason. If you know the enemy Reinhardt won’t have Earth Shatter for 45 seconds, you can coordinate dives into his shields. If you know their Mercy just used ultimate, you know they don’t have mobility for 45 seconds and can pressure her.
Tracking isn’t guesswork. It’s based on time elapsed since their last ultimate was used. If Tracer used her ultimate 10 seconds ago and builds charge at a standard rate, she’ll have her next one in roughly 40-50 seconds (accounting for her damage output). If damage is light, stretch that estimate to 60+ seconds.
In ranked play, mental tracking is sufficient for most scenarios. Note when enemy ultimates are used, estimate charge time based on role and damage output, and adjust your strategy accordingly. In scrim or team environments, assign one player to track and call out enemy ultimate status, this frees up mental bandwidth for mechanical play.
Hero-Specific Cumflation Strategies
Different heroes generate and use ultimates differently. Mastering cumflation means understanding your hero’s specific rhythm.
Tank Heroes and Damage Mitigation Charge
Reinhardt is the perfect case study. His charge generation relies on both absorbing damage with his shield and dealing damage with his hammer. In a passive playstyle (sitting behind shields and letting damage come to him), Reinhardt charges slowly. Aggressively playing, positioning where enemies focus fire on his shield, and landing hammer swings accelerates his charge significantly.
Compare this to Sigma, whose charge generation is entirely shield-absorption-dependent. A Sigma facing constant enemy damage charges faster than one in a low-pressure lane. Understanding this, high-level Sigma players position where they’ll absorb the most damage, enabling rapid ultimate cycling.
Roadhog plays by his own rules. His ultimate is independent: he charges through hook combos and point-blank damage. Playing Roadhog as a fishing machine (landing hooks, capitalizing on each one) charges his ultimate at a reasonable pace. Wasting hooks or missing combos stalls his charge entirely.
The common thread: tank ultimate generation rewards aggressive, high-damage scenarios. Passive tank play stalls your team’s charge generation and forces your damage dealers to carry harder.
Damage Heroes and Aggressive Charge Building
Damage heroes charge through dealing damage, which means aggressive positioning and high-impact playstyles directly accelerate ultimate availability. Tracer exemplifies this: aggressive play, hunting isolated targets, and securing eliminations all translate directly to charge.
Widowmaker presents a different rhythm. She charges through burst damage, meaning headshots and positioning for picks generates charge quickly. A Widowmaker landing consistent picks (even if they’re not eliminations, just high damage) charges her ultimate faster than one missing shots and playing passively.
Genji requires a playstyle centered on mobility and target priority. His charge generation is straightforward (damage dealt), but his ultimate effectiveness depends on having nearby targets. A Genji positioned where they can cleave multiple enemies when activating Dragonblade gains more value from their ultimate timing compared to one using it against spread-out enemies.
The meta shifts frequently, and damage hero viability changes with patches. Consulting resources like The Loadout for current tier lists and meta shifts ensures your strategy aligns with the present competitive landscape.
Support Heroes and Healing Economy
Mercy’s ultimate generation depends entirely on healing output. Healing high-damage teammates (who are taking fire and making plays) charges her ultimate faster than healing passive teammates. Positioning Mercy with your primary carry or in duels where teammates need sustained healing accelerates her charge.
Lúcio has a unique advantage: he charges through healing and damage simultaneously. Aggressively playing Lúcio, landing shots while healing nearby teammates, charges his ultimate faster than passive Lúcio play. This is why great Lúcio players are constantly attacking and healing simultaneously, maximizing charge generation.
Ana charges through healing and sleep darts. Landing sleep darts (which generate charge through the damage they deal) and maintaining healing output keeps her ultimate available regularly. A defensive Ana playstyle (only healing, never pressuring) stalls her ultimate generation compared to one who actively damages enemies and heals reactively.
Support ultimate management directly impacts whether your team has defensive ultimates available for critical moments. A Mercy who’s been healing aggressively can rez key eliminations: a Lúcio with beat can save a lost fight. This is why positioning supports to maximize their charge generation is team-critical.
Advanced Cumflation Tactics for Ranked Play
Once you understand the basics, advanced cumflation involves predicting enemy ultimates, coordinating your team’s usage, and strategically forcing enemies into disadvantageous scenarios.
Economy Trading and Value Swaps
Economy trading is the practice of using one ultimate to force the enemy team to spend one (or more) of their own, gaining net advantage. Example: your Genji uses Dragonblade to force the enemy Lúcio to use beat drop defensively. You’ve traded one ultimate for one ultimate, but your Genji’s charge regenerates faster than the enemy Lúcio’s, and you’ve bought your team time.
Value swaps occur when you spend a lower-value ultimate to force the enemy to spend a higher-value one. Imagine your team uses Tracer’s Pulse Bomb (a single-target, high-damage ultimate) to force the enemy Reinhardt to use Earth Shatter defensively. You’ve spent a good ultimate, but you’ve forced them to spend their defensive ultimate prematurely, giving your team more window for the next play.
Mastering these trades requires game knowledge. You need to know which ultimates are high-value (defensive, team-saving abilities like Mercy rez or Lúcio beat) versus utility ultimates (ability enhancers like Genji Dragonblade). Trading wisely means your team enters the next fight with superior ultimate availability.
Positioning for Optimal Charge Gain
Positioning isn’t just about surviving: it’s about being where you generate charge fastest. A Tracer in a 1v1 against an isolated enemy generates charge slower than one diving into a grouped team where she can spam bounces and secure eliminations.
Consider team fights holistically. Damage dealers should position where they’re constantly dealing damage (the enemy frontline, isolated carries, grouped enemies). Supports should position where they’re healing consistent targets (behind the frontline, with mobile teammates, in areas where teammates are trading shots). Tanks should position where they’re absorbing maximum damage while dishing out consistent swings or shots.
Positioning that maximizes charge generation also typically maximizes team safety and impact. A well-positioned Mercy healing her team’s primary carry is both generating charge and enabling that carry’s dominance. A Reinhardt aggressively using his shield is absorbing damage that would hit squishier teammates while building his ultimate.
High-ranked players position with cumflation subconsciously. They naturally gravitate toward positions that feel impactful, which correlates directly with charge generation. Developing this intuition is the difference between deliberately optimizing charge and letting it happen accidentally.
Coordinating Ultimate Dumps with Team Fights
An ultimate dump is coordinating multiple ultimates in quick succession to overwhelm the enemy team. This is where team communication becomes critical. If your team has three ultimates available and the enemy has one, the team with more ultimates has a tangible advantage, but only if they coordinate.
A failed ultimate dump occurs when teammates use ultimates sequentially without coordination. Reinhardt uses Earth Shatter, enemy Lúcio beats immediately, and then Tracer pulse bombs after the beat is done, wasting all three ultimates. A successful dump has Reinhardt shatter, Tracer bomb during the stun (before the beat comes out), and Mercy immediately healing through the potential counterplay. The coordination determines the outcome.
Scrimming teams practice these dumps extensively. Ranked players should at minimum call out “dump incoming” or “let’s cycle” to signal intent. The team that coordinates ultimate usage better consistently wins fights and matches.
Common Cumflation Mistakes and How to Avoid Them
Understanding what to do is half the battle: avoiding what not to do is the other half.
Wasting Ultimates on Low-Value Targets
This is the most common mistake. A Genji using Dragonblade to chase a low-health enemy while missing grouped teammates behind them. A Tracer using Pulse Bomb on a Mercy in spawn instead of on the grouped enemy team. A Roadhog using Whole Hog to kill an isolated enemy instead of saving it for the team fight at point.
Wasting ultimates isn’t just about that one fight, it’s about the entire match economy. If your team uses one ultimate and the enemy uses none (because you threw yours away), you’re now in a deficit. You can’t recover that deficit for the next 40+ seconds until your ultimate regenerates. Meanwhile, your team either plays passively waiting for charge or engages with a disadvantage.
Avoid this by asking: “Will this ultimate swing the fight in our favor?” If the answer is “it’ll get one kill,” it’s likely not worth using. If the answer is “it’ll enable our team’s follow-up or secure multiple eliminations,” use it.
Failing to Communicate Ultimate Status
Your team can’t coordinate if they don’t know your ultimate status. A Mercy with ultimate available but never calling it out means her teammates don’t play around potential rezzes. A Lúcio with beat available but quiet means his team might commit to a losing fight they could win with beat.
Communication doesn’t require constant callouts. Simple statements like “Ult soon” (60%+ charge), “Ult up” (100% charge), “Using ult” (when activating), and “Ult down” (after using it) keep teammates informed. Some teams use shorthand: “Beat soon,” “Shatter in 15,” etc.
Failing to communicate ultimate status is especially critical for defensive ultimates. A Mercy rez, Lúcio beat, or Baptiste immortality field can be the difference between winning and losing a fight, but only if teammates know it’s available. Without communication, teammates don’t play around them.
Overextending for Charge and Losing Positioning
This mistake combines greed with poor positioning. A Tracer overextending deep into enemy territory to “farm ult” but getting caught out and eliminated. A Mercy moving out of position to heal a teammate who’s making a bad play, only to get burst herself. A Reinhardt pushing aggressively to generate shield charge but overcommitting and getting flanked.
Charge generation should never come at the cost of positioning or safety. If securing charge means you’re vulnerable to enemy counterplay, it’s not worth it. The optimal strategy is playing well (which naturally generates charge) rather than sacrificing safety to accelerate charge.
Balance your pursuit of charge with survival. You can’t build ultimates effectively if you’re constantly being eliminated.
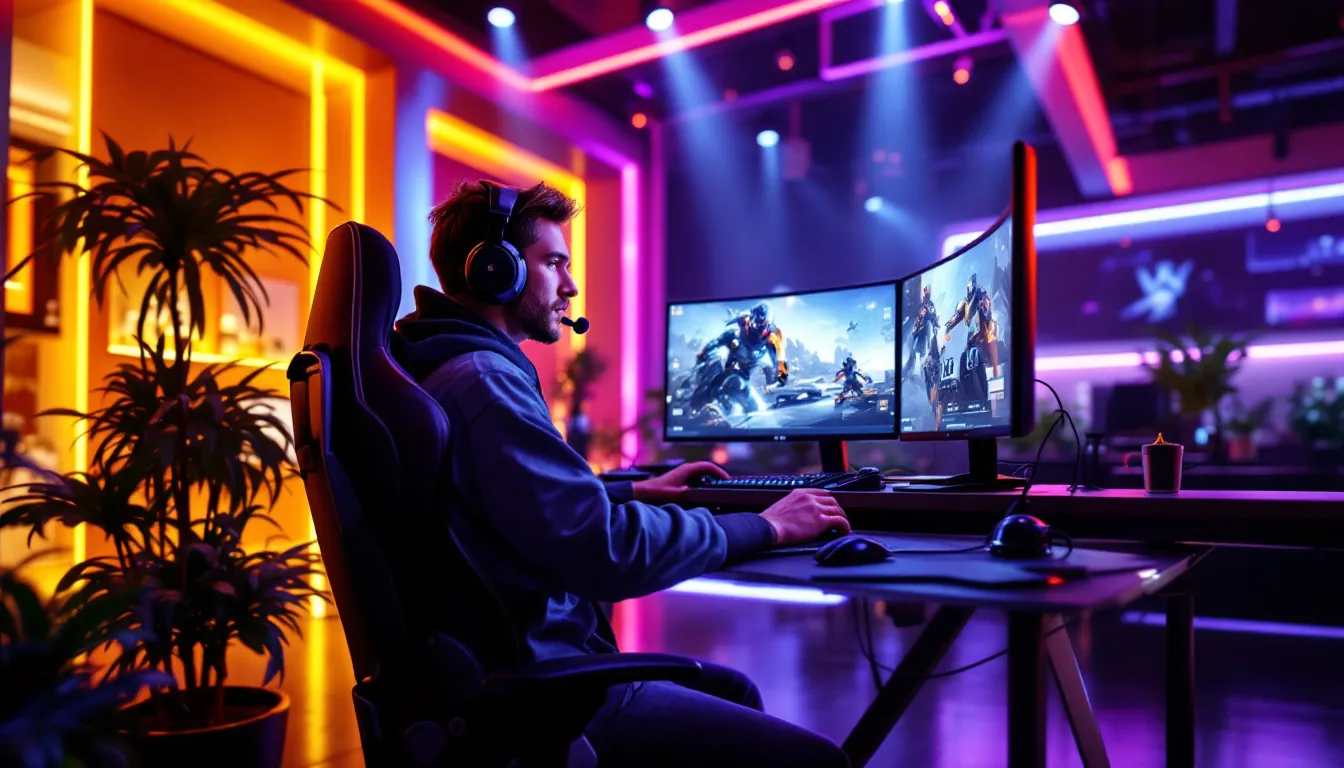
Conclusion
Mastering cumflation is mastering Overwatch’s invisible economy. It separates players who understand the game from those reacting to it moment-by-moment. By understanding how your heroes generate charge, tracking enemy ultimate availability, positioning to maximize generation, and coordinating usage with teammates, you’ll immediately notice improvement in your win rate.
The path forward is practice and awareness. Play with cumflation in mind. Call out ultimate status. Track enemy ultimates. Make conscious decisions about when to hold and when to dump. Within a few weeks of focused practice on these concepts, you’ll climb ranks and find yourself making decisions that feel instinctive, because you’ve internalized the economy.
For deeper strategies on coordinating ultimates, consider studying Overwatch Ultimate Combos for team compositions that work together. Stay updated on meta shifts by following Dexerto’s esports coverage, which regularly covers balance patches and competitive meta evolution. Explore the broader Overwatch community on Supremegamerslab for hero guides and additional strategic depth.
Ultimate economy decides matches. Master it, and you master Overwatch.